1. Before You Begin
Make sure you have at least one domain added to your account before creating an email address. If you haven't done this yet, follow the Quick Setup Guide first.
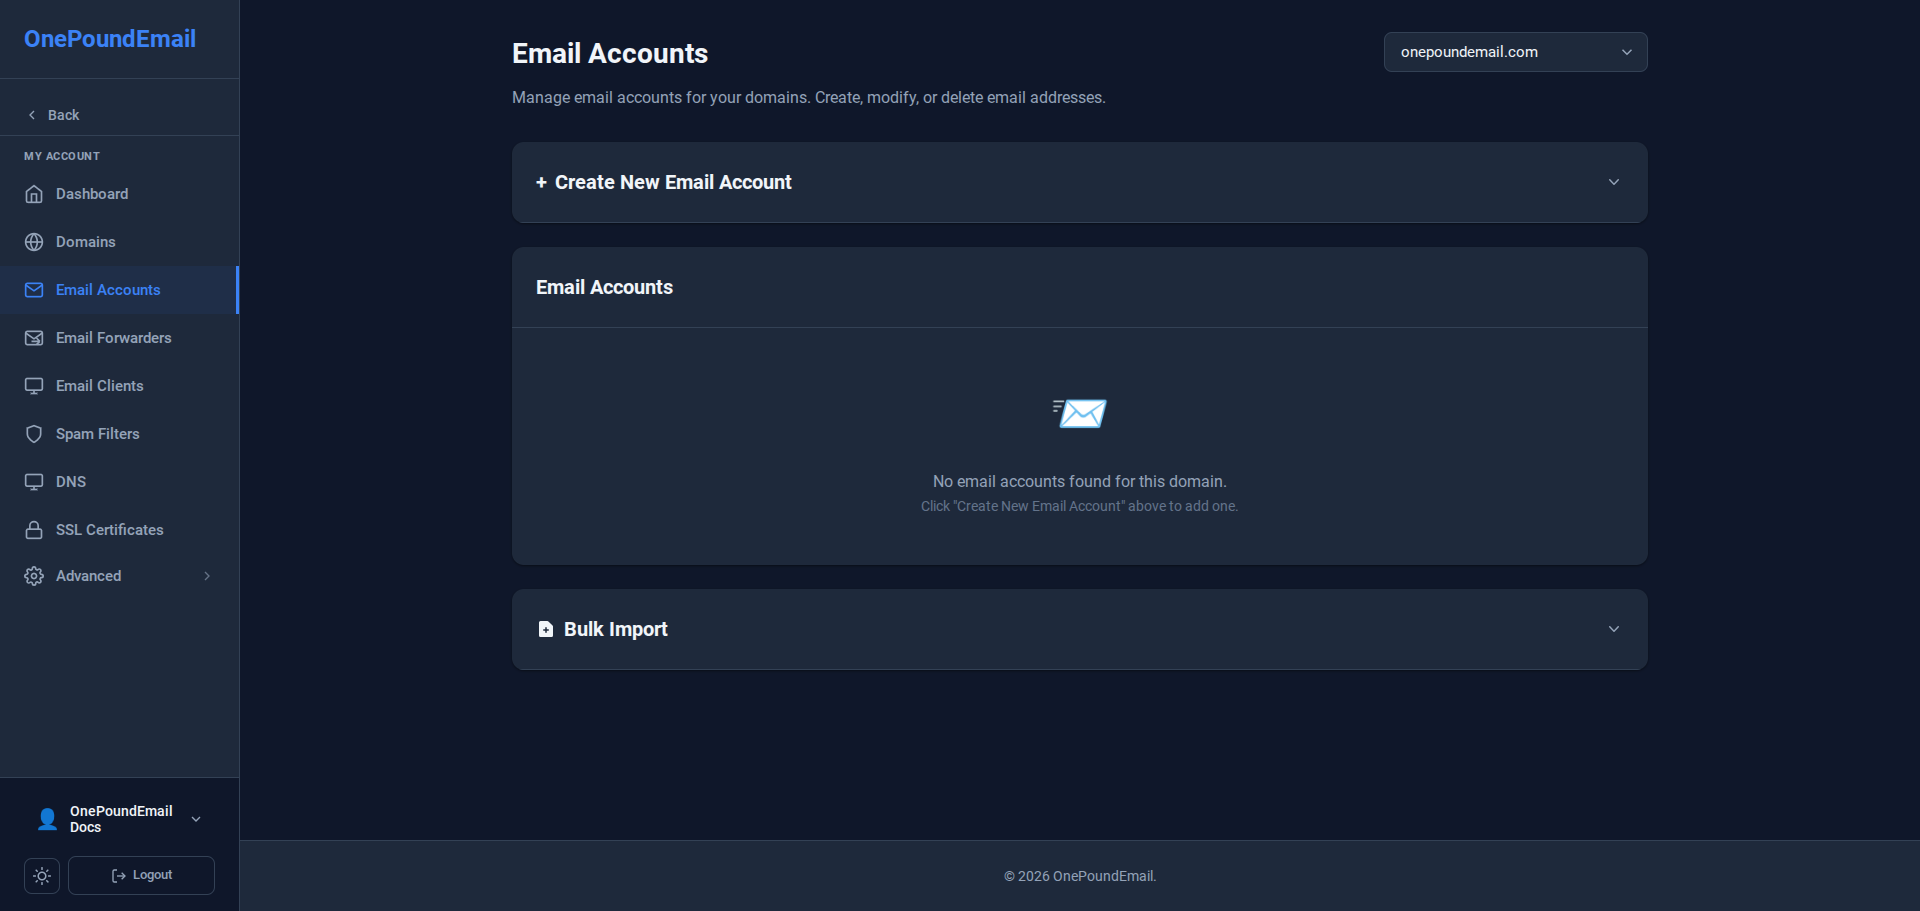
2. Creating an Email Account
Follow these steps to create a new email account from your control panel:
- Log into your OnePoundEmail control panel.
- Go to Email Accounts in the sidebar navigation.
- Click Create New Email Account.
- Enter a username (e.g.
helloforhello@yourdomain.com). - Set a strong password for the account.
- Optionally set a mailbox quota, or leave it blank for no limit.
- Click Create Account to confirm.
Done! Your new email account is ready to use. You can now access it via webmail or configure it in your email client.
3. Managing Existing Accounts
From the Email Accounts page you can also:
- Change the password for any account
- Adjust the mailbox quota
- Delete accounts you no longer need
- View storage usage per mailbox
4. Accessing Your Email
Once created, you can access your new mailbox in two ways:
Via Webmail
Log in directly at panel.onepound.email using your full email address and password.
Via an Email Client
Use the following settings to connect Outlook, Apple Mail, Thunderbird, or any other client:
IMAP  Server:    server.hostname.net  Port: 993  SSL/TLS
SMTP  Server:    server.hostname.net  Port: 465  SSL/TLS
Username:  your@yourdomain.com
Password: your account passwordYour exact server hostname is shown in your control panel under DNS. Replace
server.hostname.net with the value shown there.